Wig Installation Process
Have you ever wanted to change your hairstyle in minutes without damaging your natural hair? Wigs are a great way to switch up your look instantly! Whether you want longer hair, a different color, or just a fun new style, wigs offer endless possibilities.
But installing a wig properly is key to making it look natural and feel comfortable. If you’re new to wig installation, don’t worry! This guide will walk you through the process step by step.
A Step-By-Step Guide for a Flawless Look
1. Gather Your Supplies
Before you start, make sure you have everything you need. Here’s a quick checklist:
- A wig (lace front, full lace, or synthetic, depending on your choice)
- Wig cap
- Wig glue or adhesive spray
- Scissors
- Tweezers
- Edge brush
- Hair clips
- Foundation or concealer (to blend the lace)
- Blow dryer (optional, for faster drying)
Having these tools ready will make the process easier and smoother.

2. Prep Your Natural Hair
For a secure and natural-looking wig installation, your natural hair should be flat. Here’s how you can prep your hair:
- If you have short hair, you can simply slick it back with gel.
- If you have long hair, braid it into cornrows or twist it down close to your scalp.
- Put on a wig cap to keep your hair in place and create a smooth base for the wig.
The goal is to make sure your wig sits evenly and looks as natural as possible.

3. Prepare the Wig
Before putting on the wig, you need to customize it slightly:
- Trim the lace: If your wig has extra lace in the front, use scissors to carefully cut it along your hairline.
- Pluck the hairline: Using tweezers, gently pluck a few hairs from the wig’s hairline to make it look more natural.
- Apply foundation: Dab some foundation or concealer on the lace to match your skin tone.
These steps will make the wig look as close to your real hair as possible.

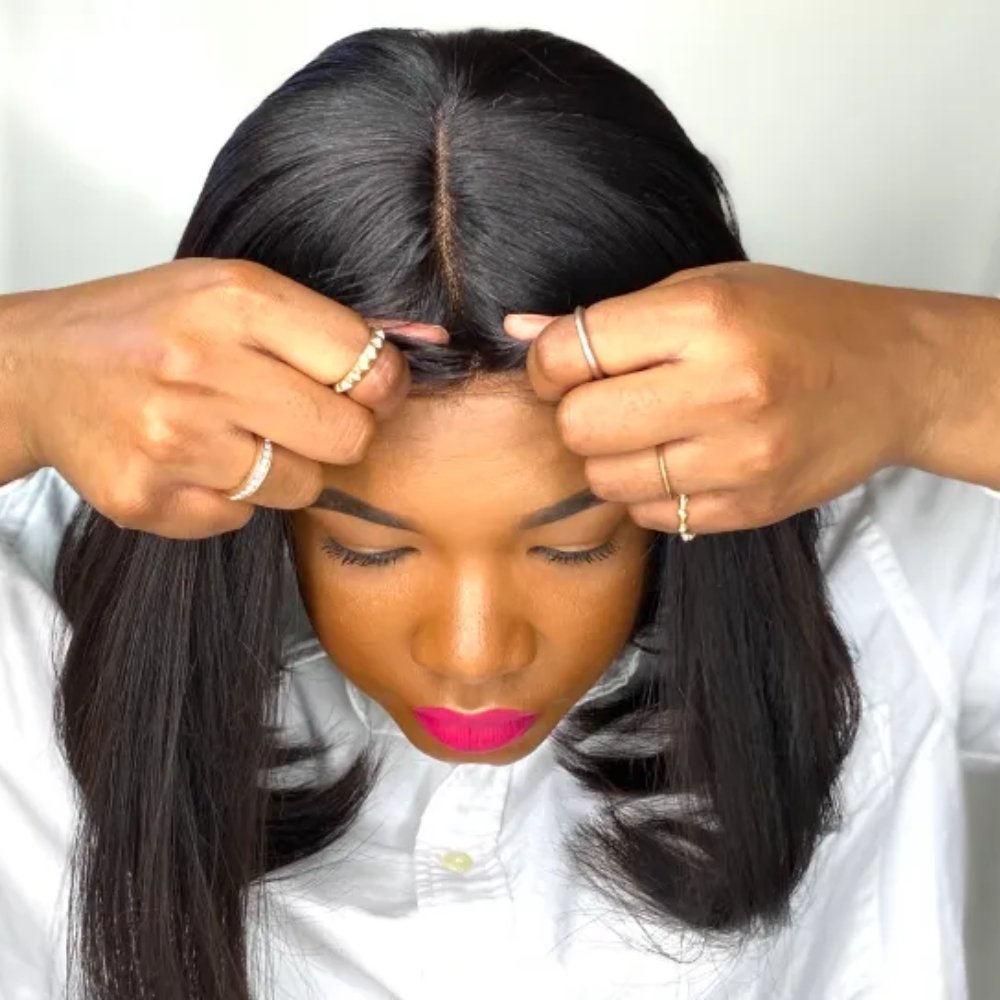
4. Apply the Wig
Now comes the fun part – putting on the wig!
- Place the wig on your head and adjust it so it sits naturally.
- Secure the wig using adjustable straps inside the cap.
- If using glue, apply a thin layer along your hairline and let it dry until it becomes tacky.
- Press the lace down onto the glue and use a blow dryer on a cool setting to help it set.
- Use a scarf or elastic band to tie down the lace for 10-15 minutes to ensure it stays in place.
5. Style Your Wig
Once the wig is secure, you can style it to your liking:
- Use a flat iron or curling iron if the wig is heat-friendly.
- Lay your edges with an edge brush and some styling gel.
- Part the wig in different ways to see what looks best on you.
Styling your wig adds the final touch to make it look natural and flawless!

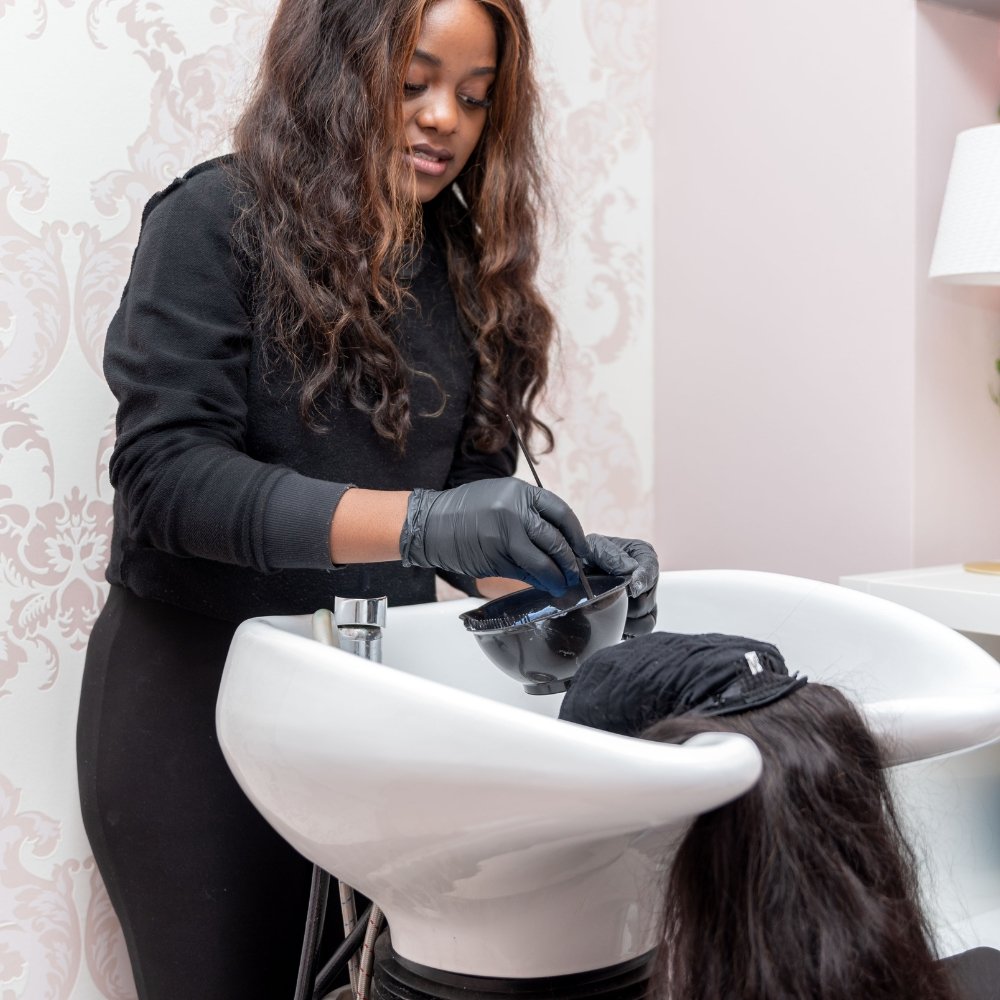
6. Wig Care and Maintenance
To keep your wig looking fresh and lasting longer, follow these simple care tips:
- Remove your wig before sleeping to prevent tangles.
- Wash it with a mild shampoo and let it air dry.
- Store it on a wig stand to maintain its shape.
- Avoid excessive heat if it’s not a heat-friendly wig.
Proper care will make sure your wig stays in great condition for a long time.
Conclusion:
Wig installation may seem tricky at first, but with practice, it gets easier! By following these steps, you can achieve a seamless and natural look that boosts your confidence. So whether you’re wearing a wig for fashion, convenience, or protective styling, you now have the knowledge to install it like a pro!

